Check out the show notes for the Guadalcanal series.

147 - The Japanese tank attack in the Battle of Henderson Field - Guadalcanal
The Principles of War - Lessons from Military History on Strategy, Tactics, Doctrine and Leadership.
This episode looks at the Sumiyoshi's tank attack across the Matanikau - an attempt to draw defenders away from the perimeter of Henderson Field. We also discuss why Muryama coundn;t synchronise his forces and the dysfunction within the Japanese Headquarters.
We look at -
What are the consequences of relieving a subordinate commander on the eve of battle? (And what role did Tsuji play in Kawaguchi's dismissal?)
What happens when multiple attacking elements operate independently without coordination?
How should armour, infantry, and artillery be coordinated in an assault?
What is the value of pre-registered artillery fires in defense?
How can the Japanese achieve tactical surprise despite proximity?
What is the purpose and risk of outposts forward of the main defensive line?
Dave Holland is an ex-Marine and was posted to Guadalcanal with the Australian Federal Police. He regularly leads battlefield study tours through the area. He is a world-leading expert on the battles of Guadalcanal and author of Guadalcanal's Longest Fight - The Pivotal Battles of the Matanikau Front.
https://www.patreon.com/cw/principlesofwar - if you've learnt something from this episode and you can afford it, please support the podcast at Patreon.
Looking for YouTube PME videos? Check out the Principles of War YouTube Channel.
Great Professional Military Education for your Unit. This episode covers co-operation, the employment of armour and command dysfunction.
The Principles of War - Lessons from Military History on Strategy, Tactics, Doctrine and Leadership.
Hosted by James Eling, The Principles of War-Lessons from Military History on Strategy, Tactics, Doctrine and Leadership is a deep dive into the timeless patterns of conflict. This isn't just a recitation of dates and troop movements. Instead, each episode takes a pivotal historic battle and examines it through the lens of enduring military principles, extracting practical insights on strategy, combined arms, and command. The discussions are structured to serve as a resource for professional military education, condensing complex analyses into focused, thirty-minute sessions. You'll hear how decisions made centuries ago still resonate within modern doctrine, offering lessons on leadership and tactical execution that are applicable far beyond the battlefield. The aim is to provide these lessons in a compelling narrative format, moving beyond dry after-action reports. For anyone fascinated by how history informs present-day thinking in governance, organizational leadership, and strategic planning, this podcast functions as a regular, thought-provoking seminar. Tune in to explore the fundamental concepts that have shaped outcomes throughout military history and continue to define success in high-stakes environments.
Podcast Episodes
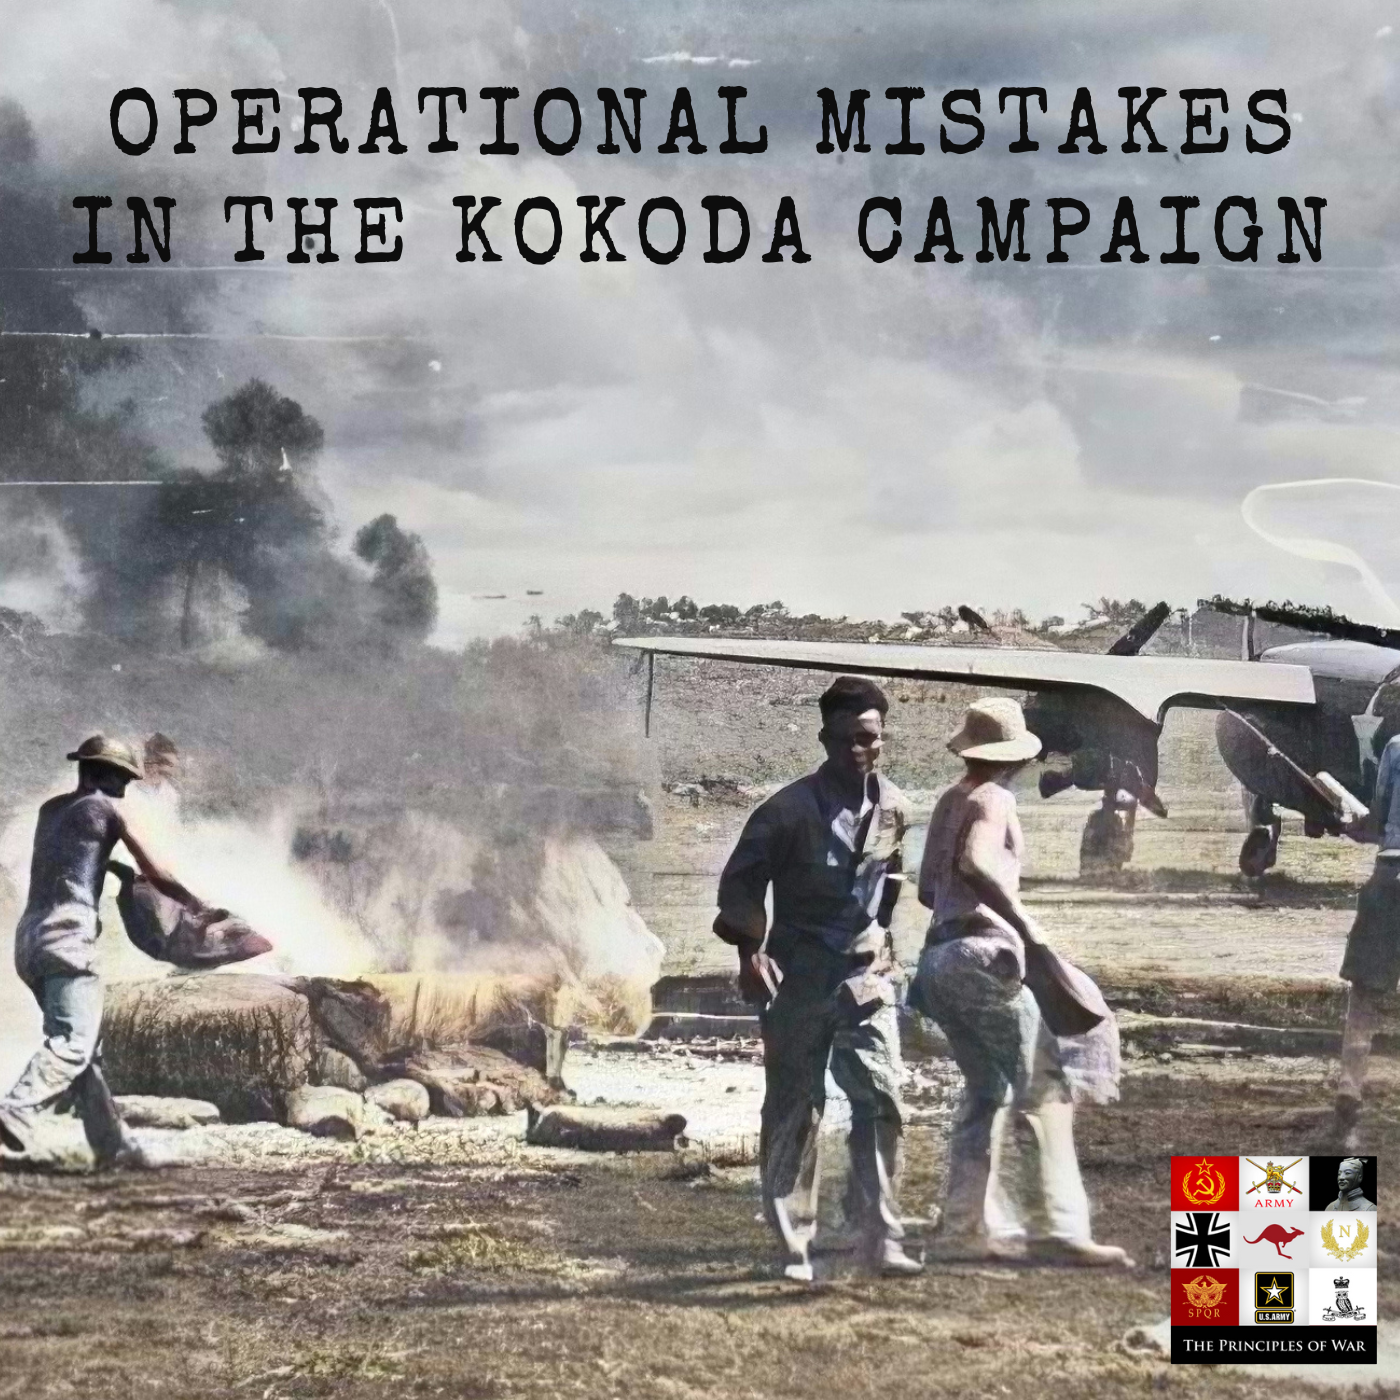
109 - Operational mistakes in the Kokoda Campaign
This is Part 11 of our series looking at the Kokoda Campaign, focusing on the combat performance of the 53rd Battalion and how the militia were prepared for combat at the tactical, operational and strategic level. This e…

108 - The Competition for Superior Doctrine
This is the third episode in a three part interview with Dr Robert Lyman about 'Victory to Defeat: The British Army 1918-40', a book he co-wrote with Lord Dannatt, who served as the Chief of the General Staff from 2006 t…

107 - British Combined Arms doctrine in the inter war period
This is the second in a three part interview with Dr Robert Lyman about 'Victory to Defeat: The British Army 1918-40', a book he co-wrote with Lord Dannatt, who served as the Chief of the General Staff from 2006 to 2009.…

106 - Combined Arms Doctrine Development in the First World War
This is the first in a three part interview with Dr Robert Lyman about 'Victory to Defeat: The British Army 1918-40', a book he cowrote with Lord Dannatt, who served as the Chief of the General Staff from 2006 to 2009. T…
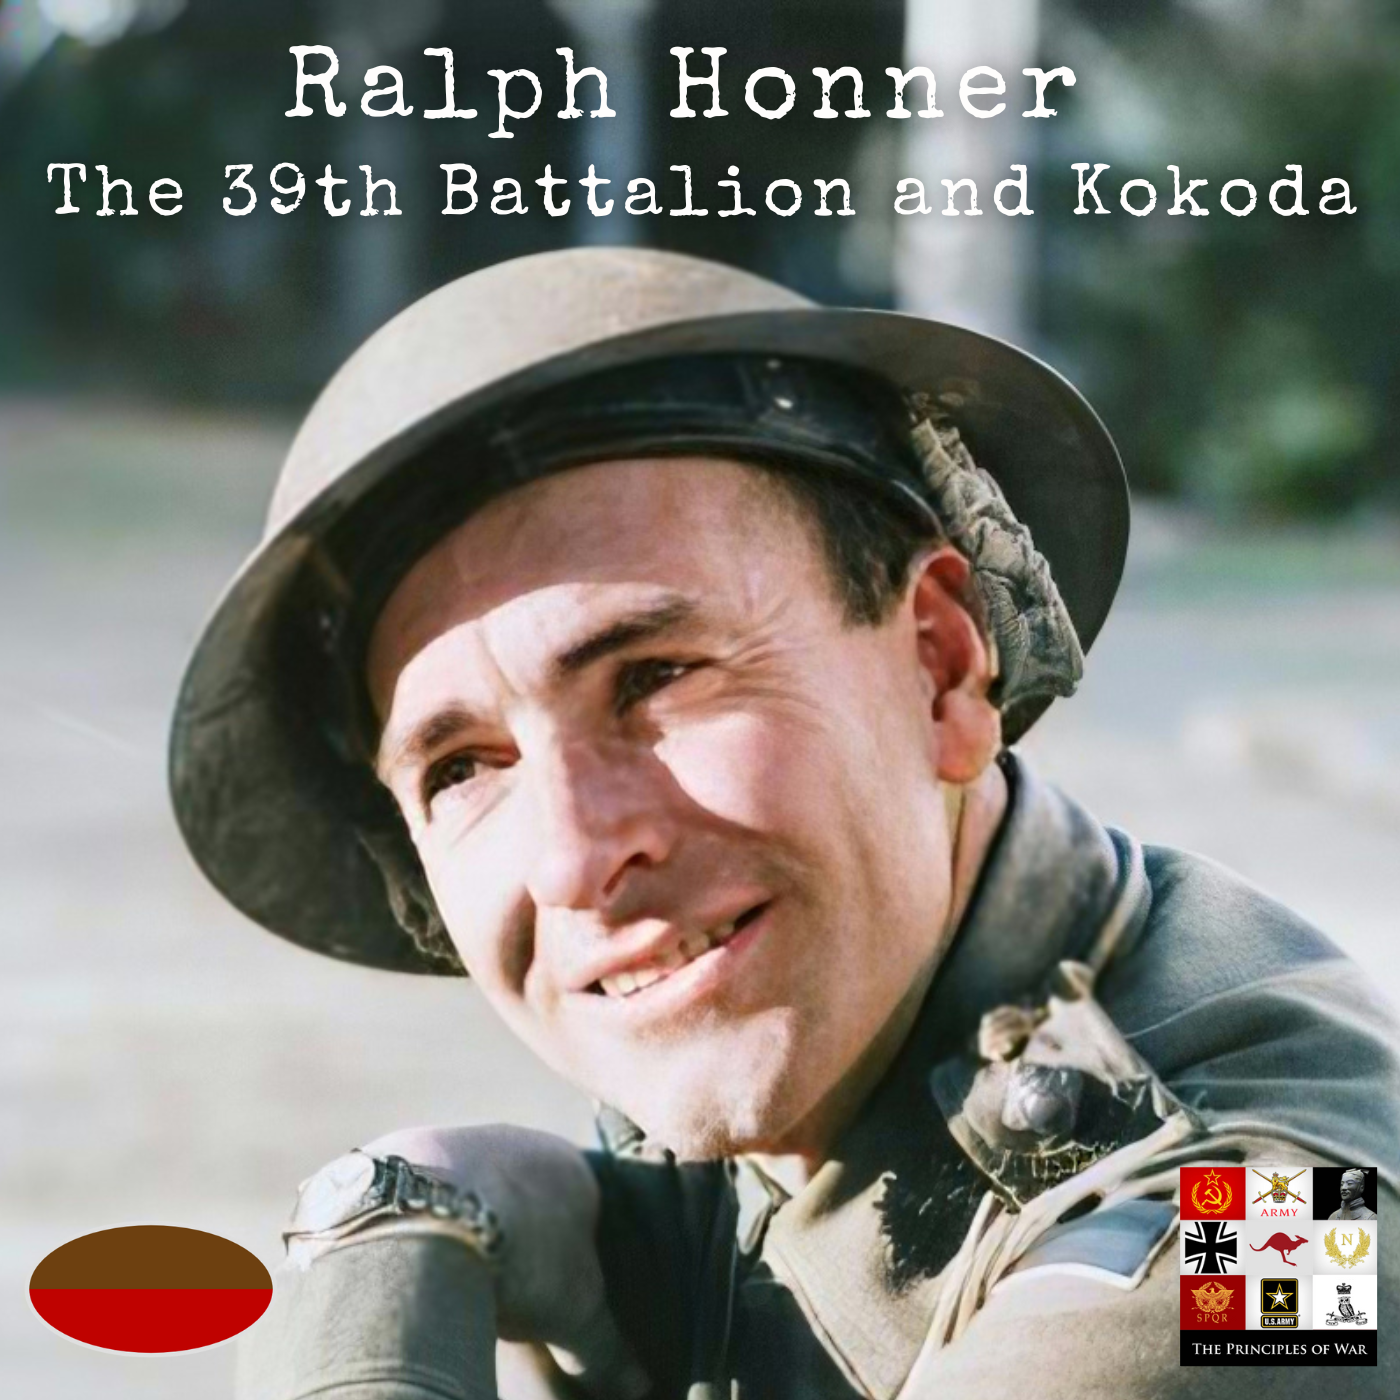
105 - Ralph Honner, the 39th Battalion and Kokoda
This is Part 10 of our series looking at the Kokoda Campaign, looking at the combat performance of the 39th Battalion. The 39th Battalion was one of Australia's best Battalions. Formed in Victoria, it's story is similar…

104 - The 39th Battalion on the Kokoda Track
This is Part 9 of our series looking at the Kokoda Campaign, looking at the combat performance of the 39th Battalion. This episode discusses the formation of the 39th Battalion, it's preparation for combat and how it per…

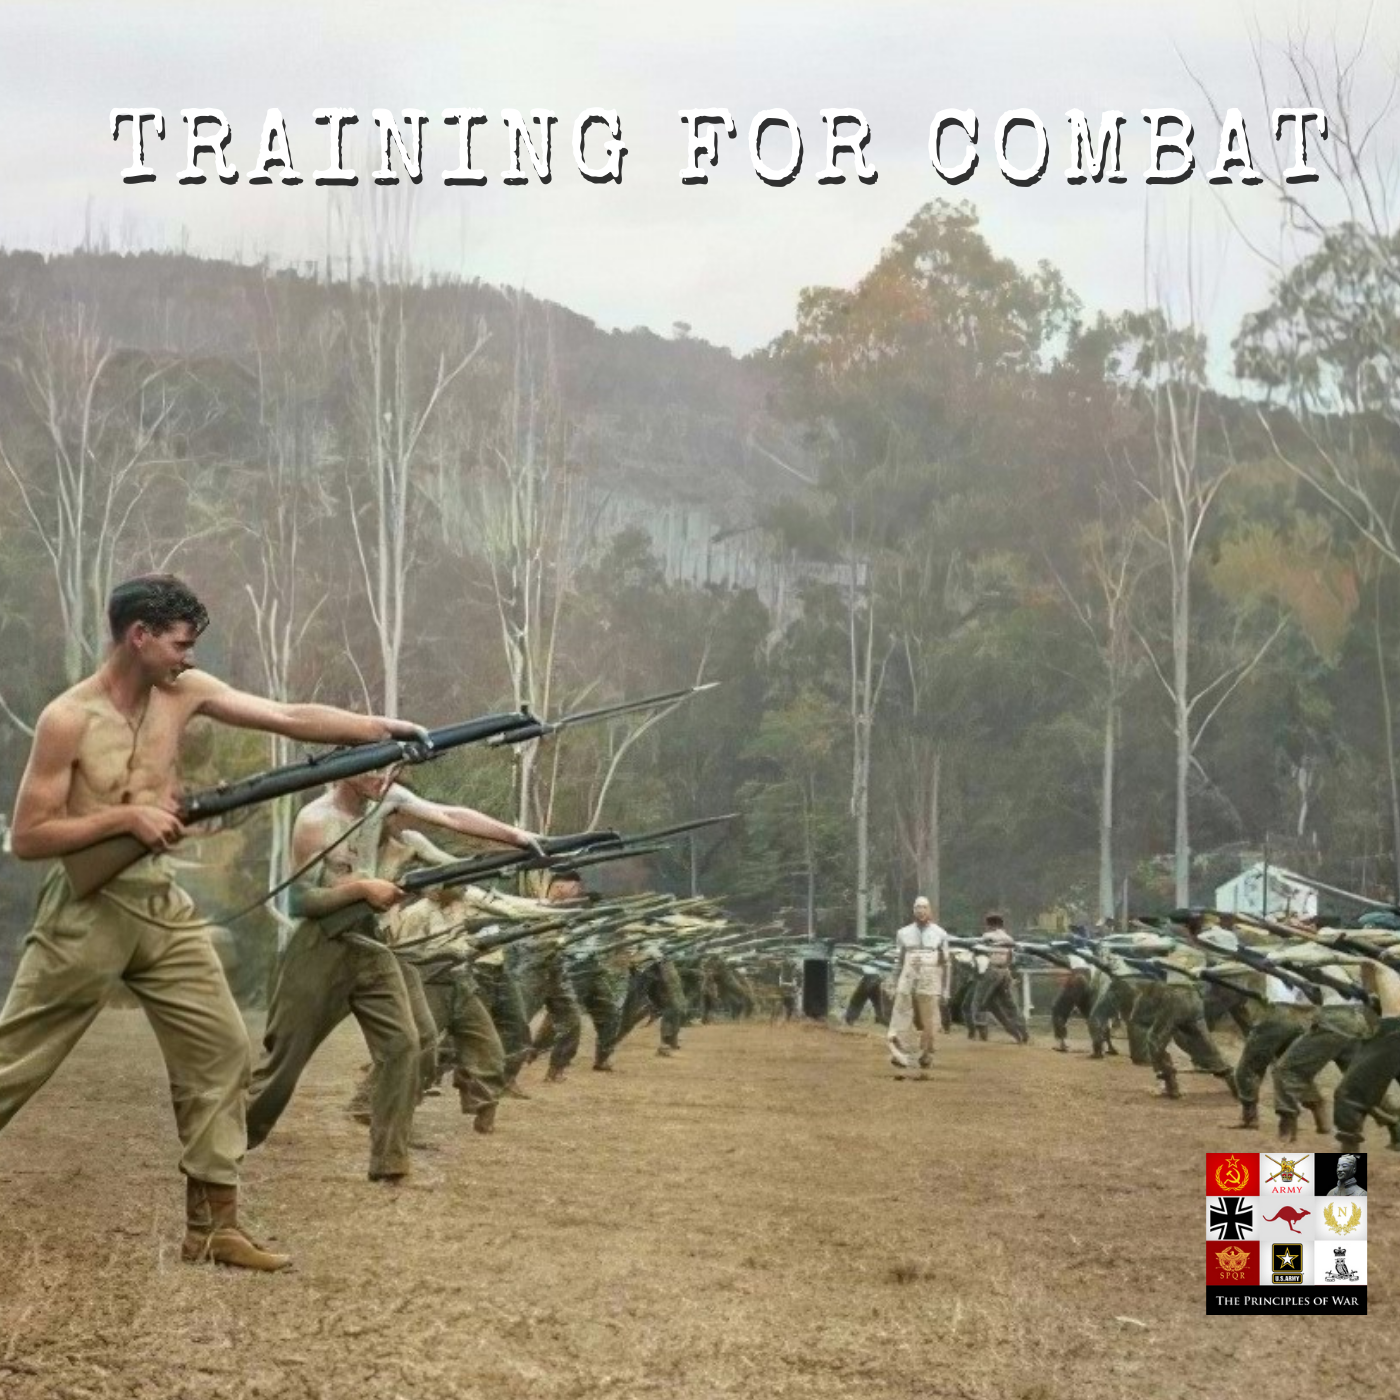
103 - Principles of Training for War
This is Part 8 of our series looking at the Kokoda Campaign, Battle of Isurava, the 53rd Battalion, how they fought and how they were prepared to fight. This episode looks at the Principles of Training and how they were(…
102 - Training a Battalion for War
This is Part 7 of our series looking at the Battle of Isurava, the 53rd Battalion, how they fought and how they were prepared to fight. This episode looks at the arrival of both the 39th and 53rd Battalions to Port Mores…

100 - The fall of Isurava
This is the fifth episode in our Kokoda Track series looking at the performance of the 53rd Battalion. The 53rd, a militia Battalion, had some incredibly brave men. Virtually untrained, poorly equipped, with inexperience…

101 - Mobilisation Mistakes with the Mice of Moresby
This is the sixth episode in our Kokoda Track series looking at the performance of the 53rd Battalion. The 53rd, a militia Battalion, had some incredibly brave men. Virtually untrained, poorly equipped and with inexperie…